Description
Radically extend your flight time and improve your video reliability on 1S
- Are you looking to make a Dji O4 build on 1S but can't get good flight times?
- Do you have a 1S Li-ion build you want to squeeze every last bit of power from?
- Or do you simply need a high power, lightweight and efficient 5V voltage booster for your project?
Well if any of these apply then I made this for you!
But first, a bit of lore.
One of the major challenges with digital or longer-range 1S builds is supplying enough power to the video transmitter, along the whole discharge curve of the battery.
In most cases, Li-po batteries can be discharged down to 3.5 or even 3.3V.
That is already edging the limit of the DJI O4 Air Unit (lite) VTX (which tends to completely brownout around 3.2V)
But even more so on Li-Ion builds whose batteries can be discharged down to 2.5V – All while showing higher voltage sag under load, which can turn off your video under the slightest punchout past mid-battery capacity
That is why I use a voltage booster on my digital and discrete analog VTX Wingman BNF builds.
Now I’ve tested quite a mouthful of off-the shelves booster modules of various sizes and specs, all with various shortcomings and worst of all inconsistent ones. I’d find a suitable one that would get bad on the following order.
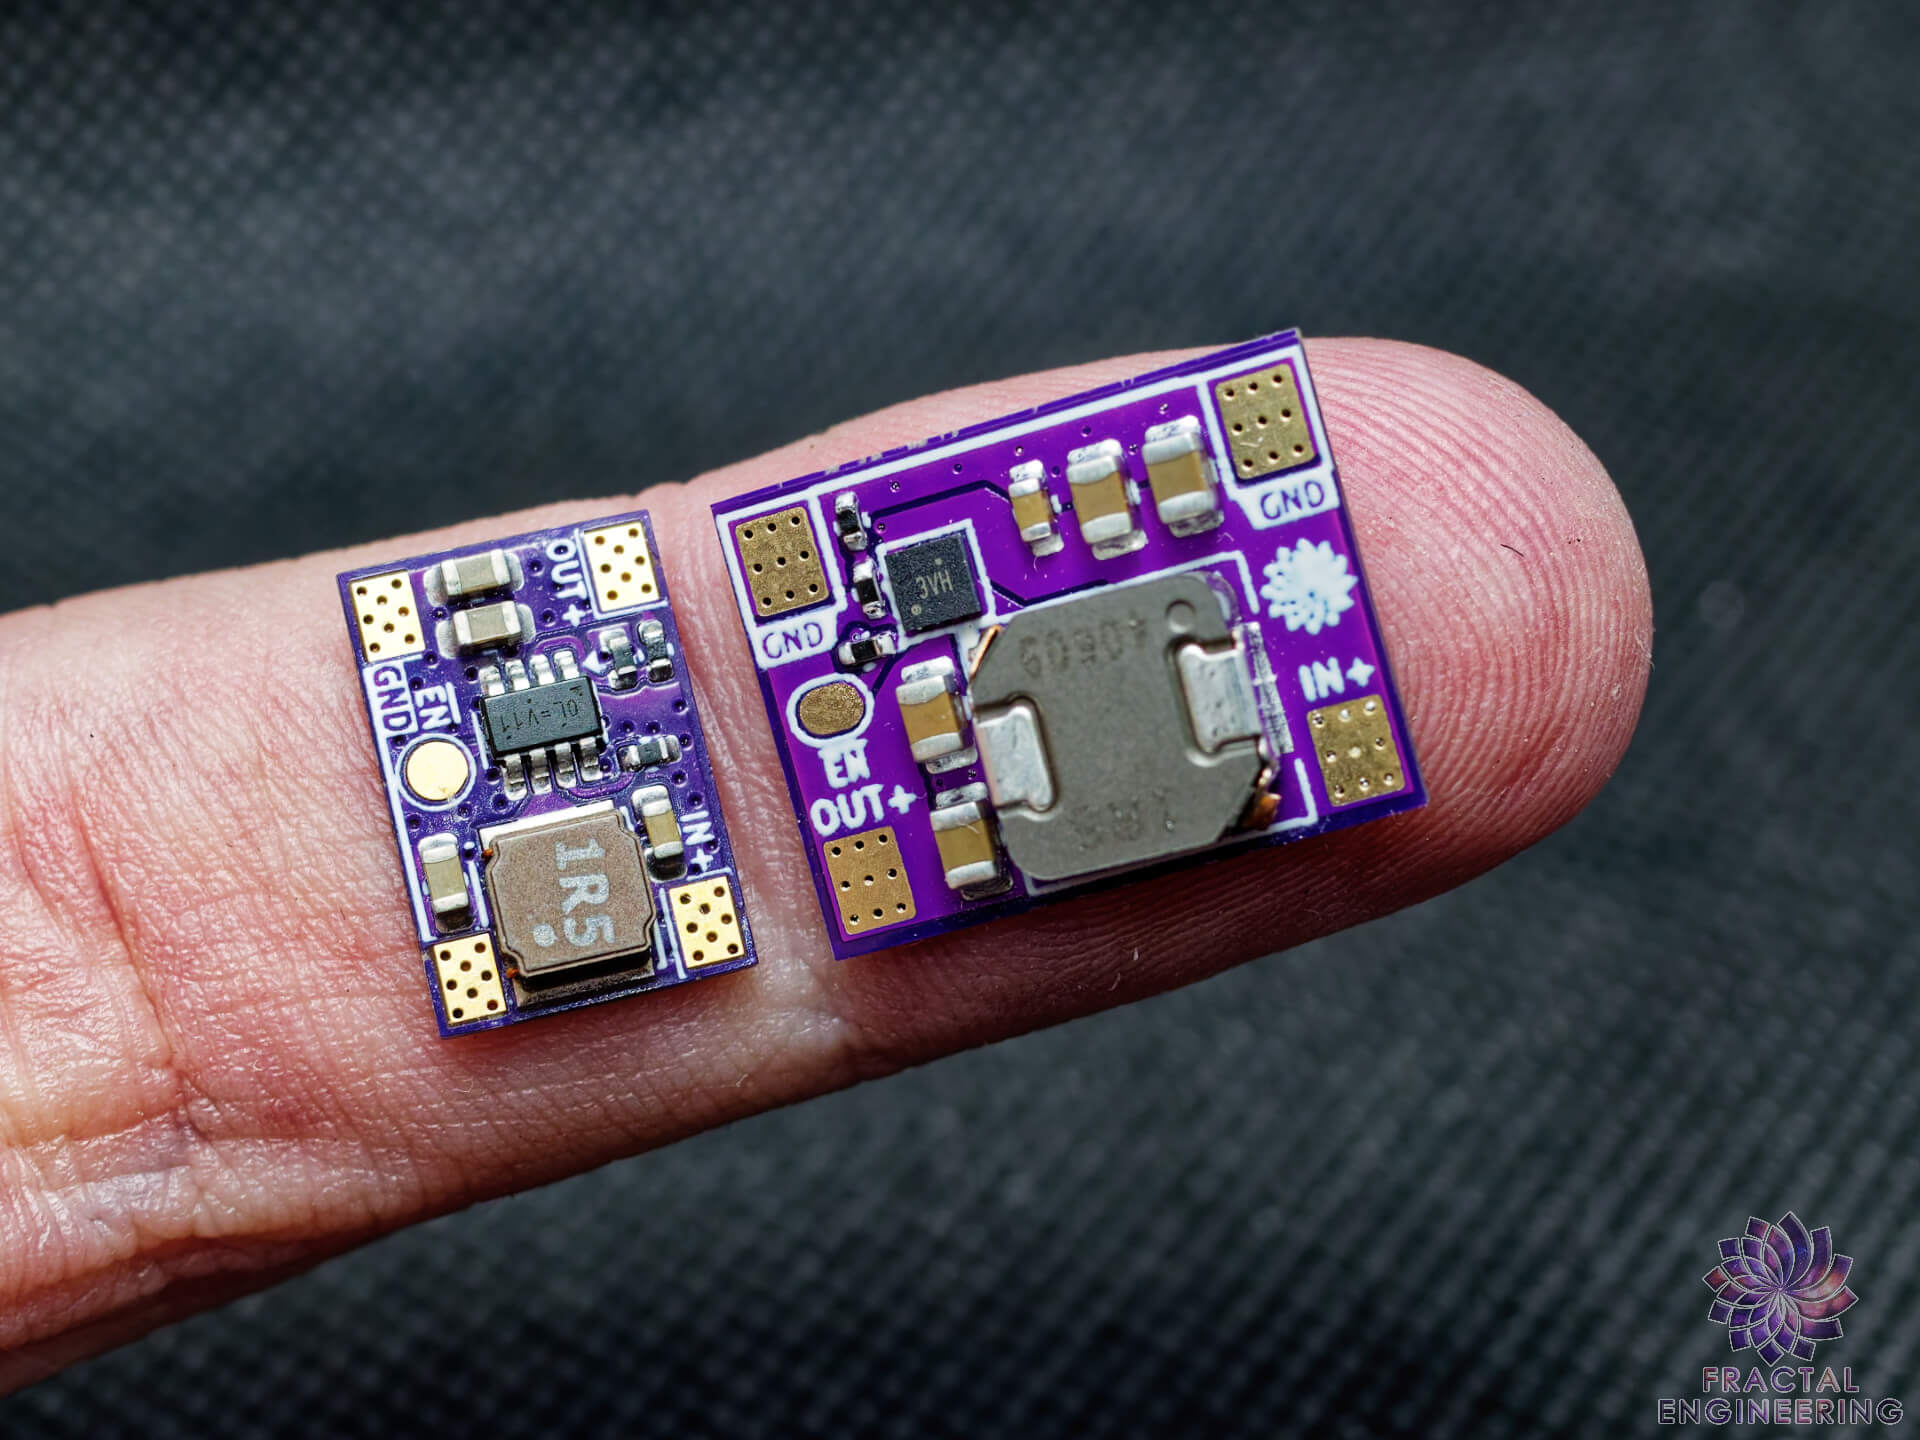
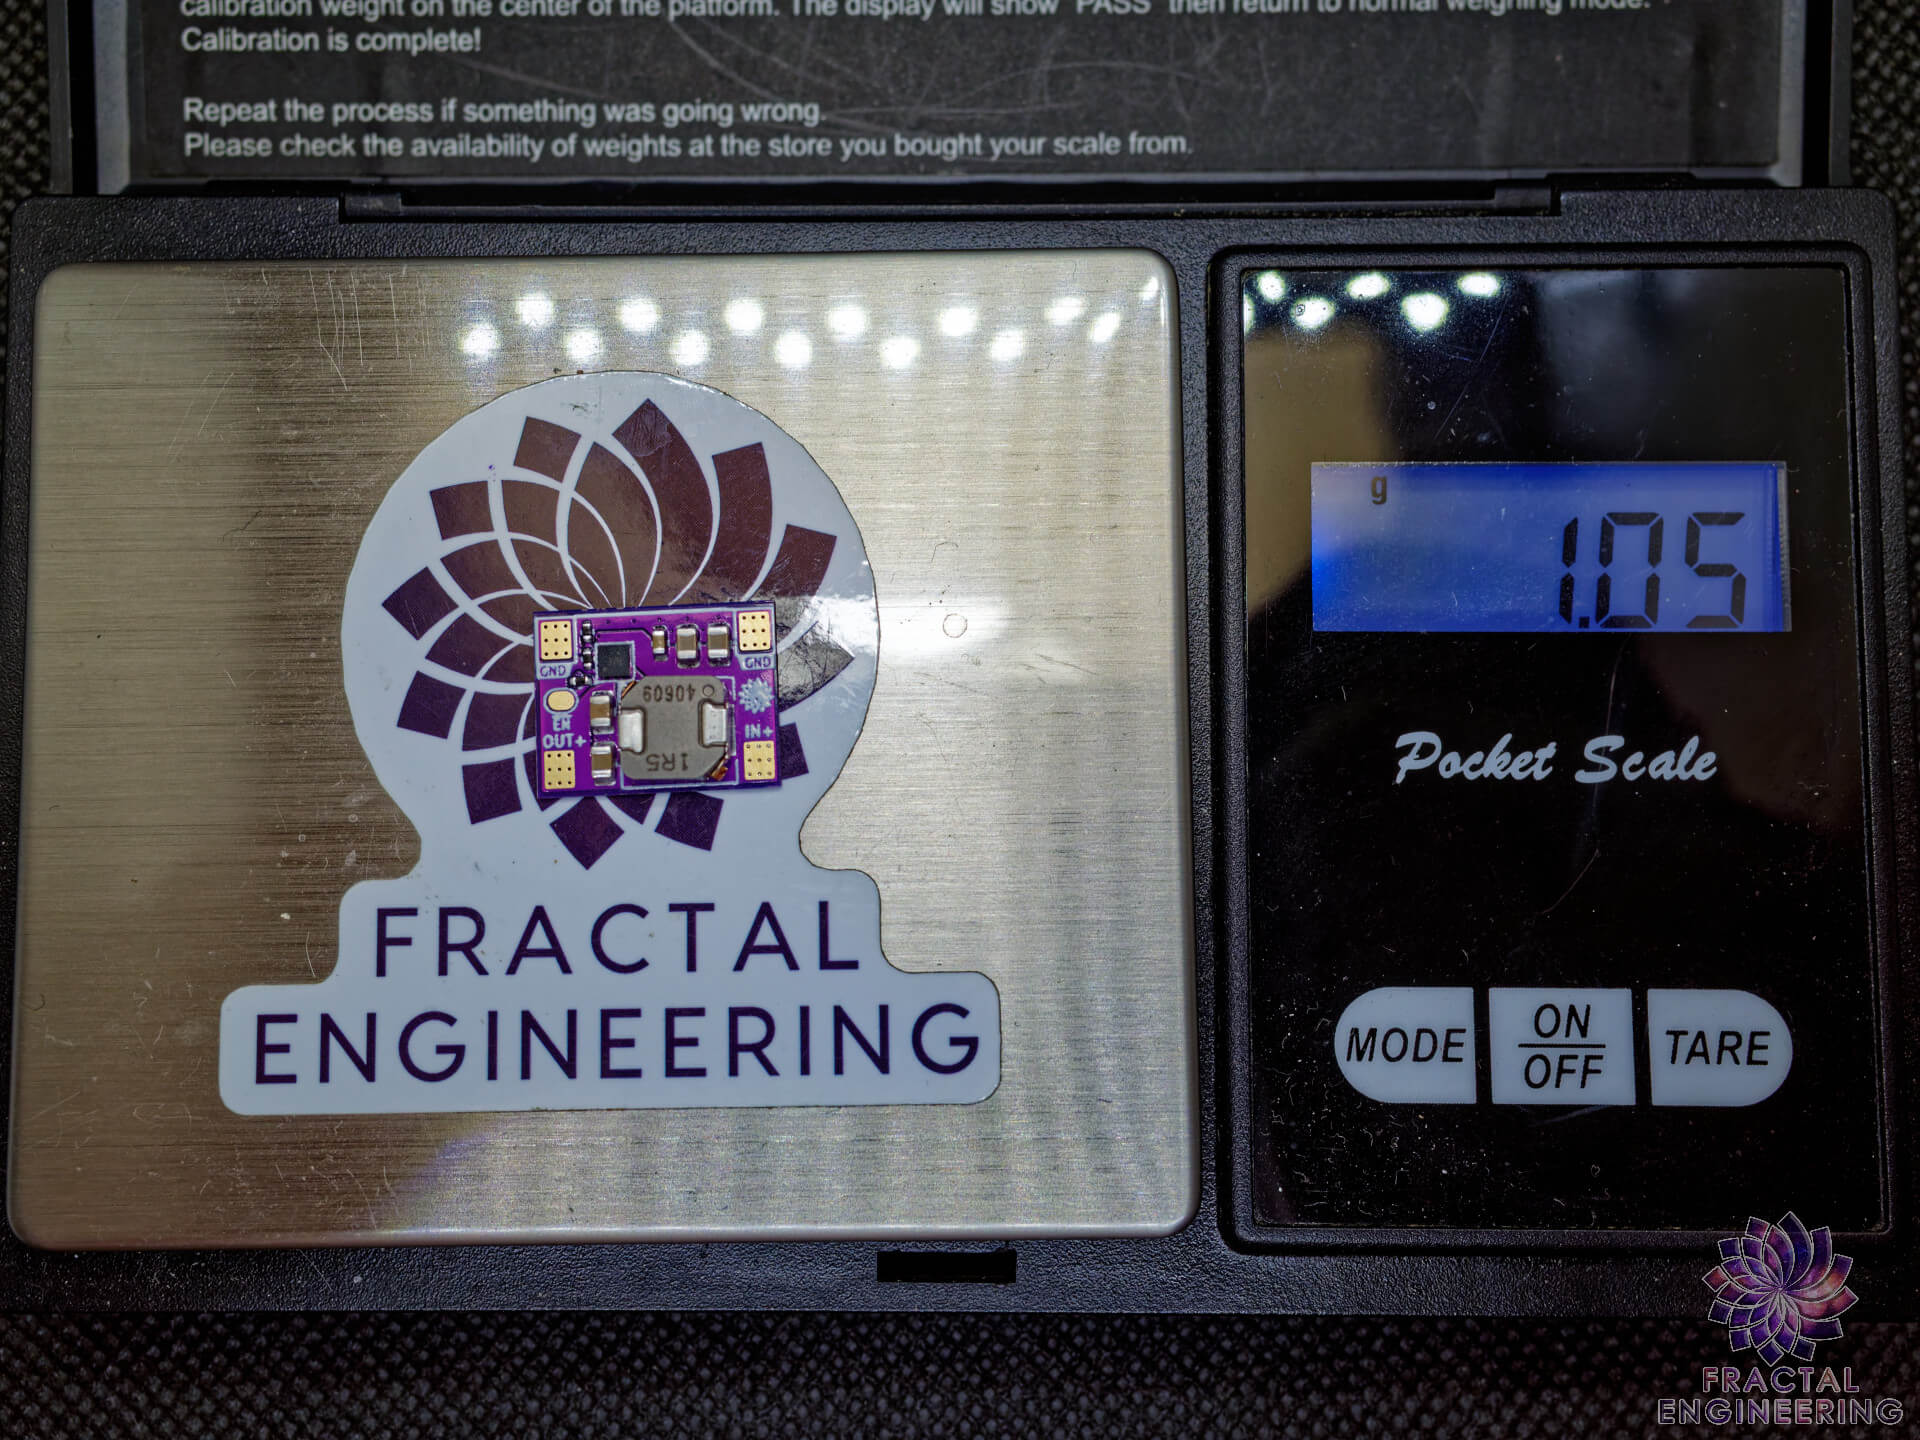
And that’s when I created the original Boostyboi, later superseded by its little brother the Boostybaby at less than half the size and weight.
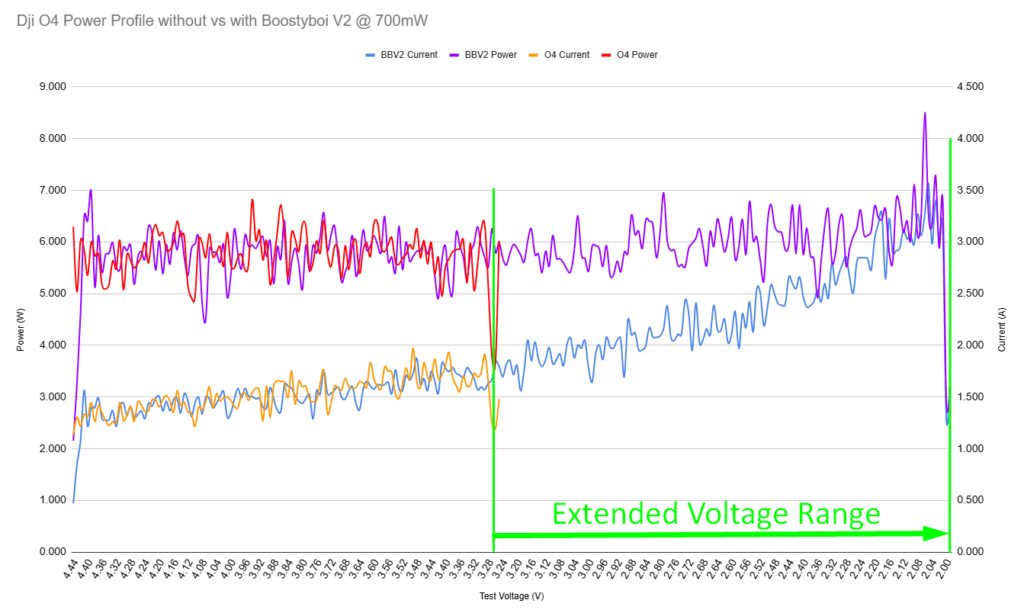
Which was –and remains suitable for any load up to a HDZero VTX, but then the DJI O4 came out and although advertised for 1S, again missed the mark for being fully reliable straight through, while demanding a massive power draw upward of 7W
And while the Boostybaby could just about carry an O4 down to Li-Po voltage, we needed something that could handle it down to Li-ion voltage.
I then went on to select the best-suited power IC for our specific high power 1S need and found this outstanding chip, boasting impressive specs that fit exactly our use case.
Then designed the circuit around it from the most reputable component manufacturers,
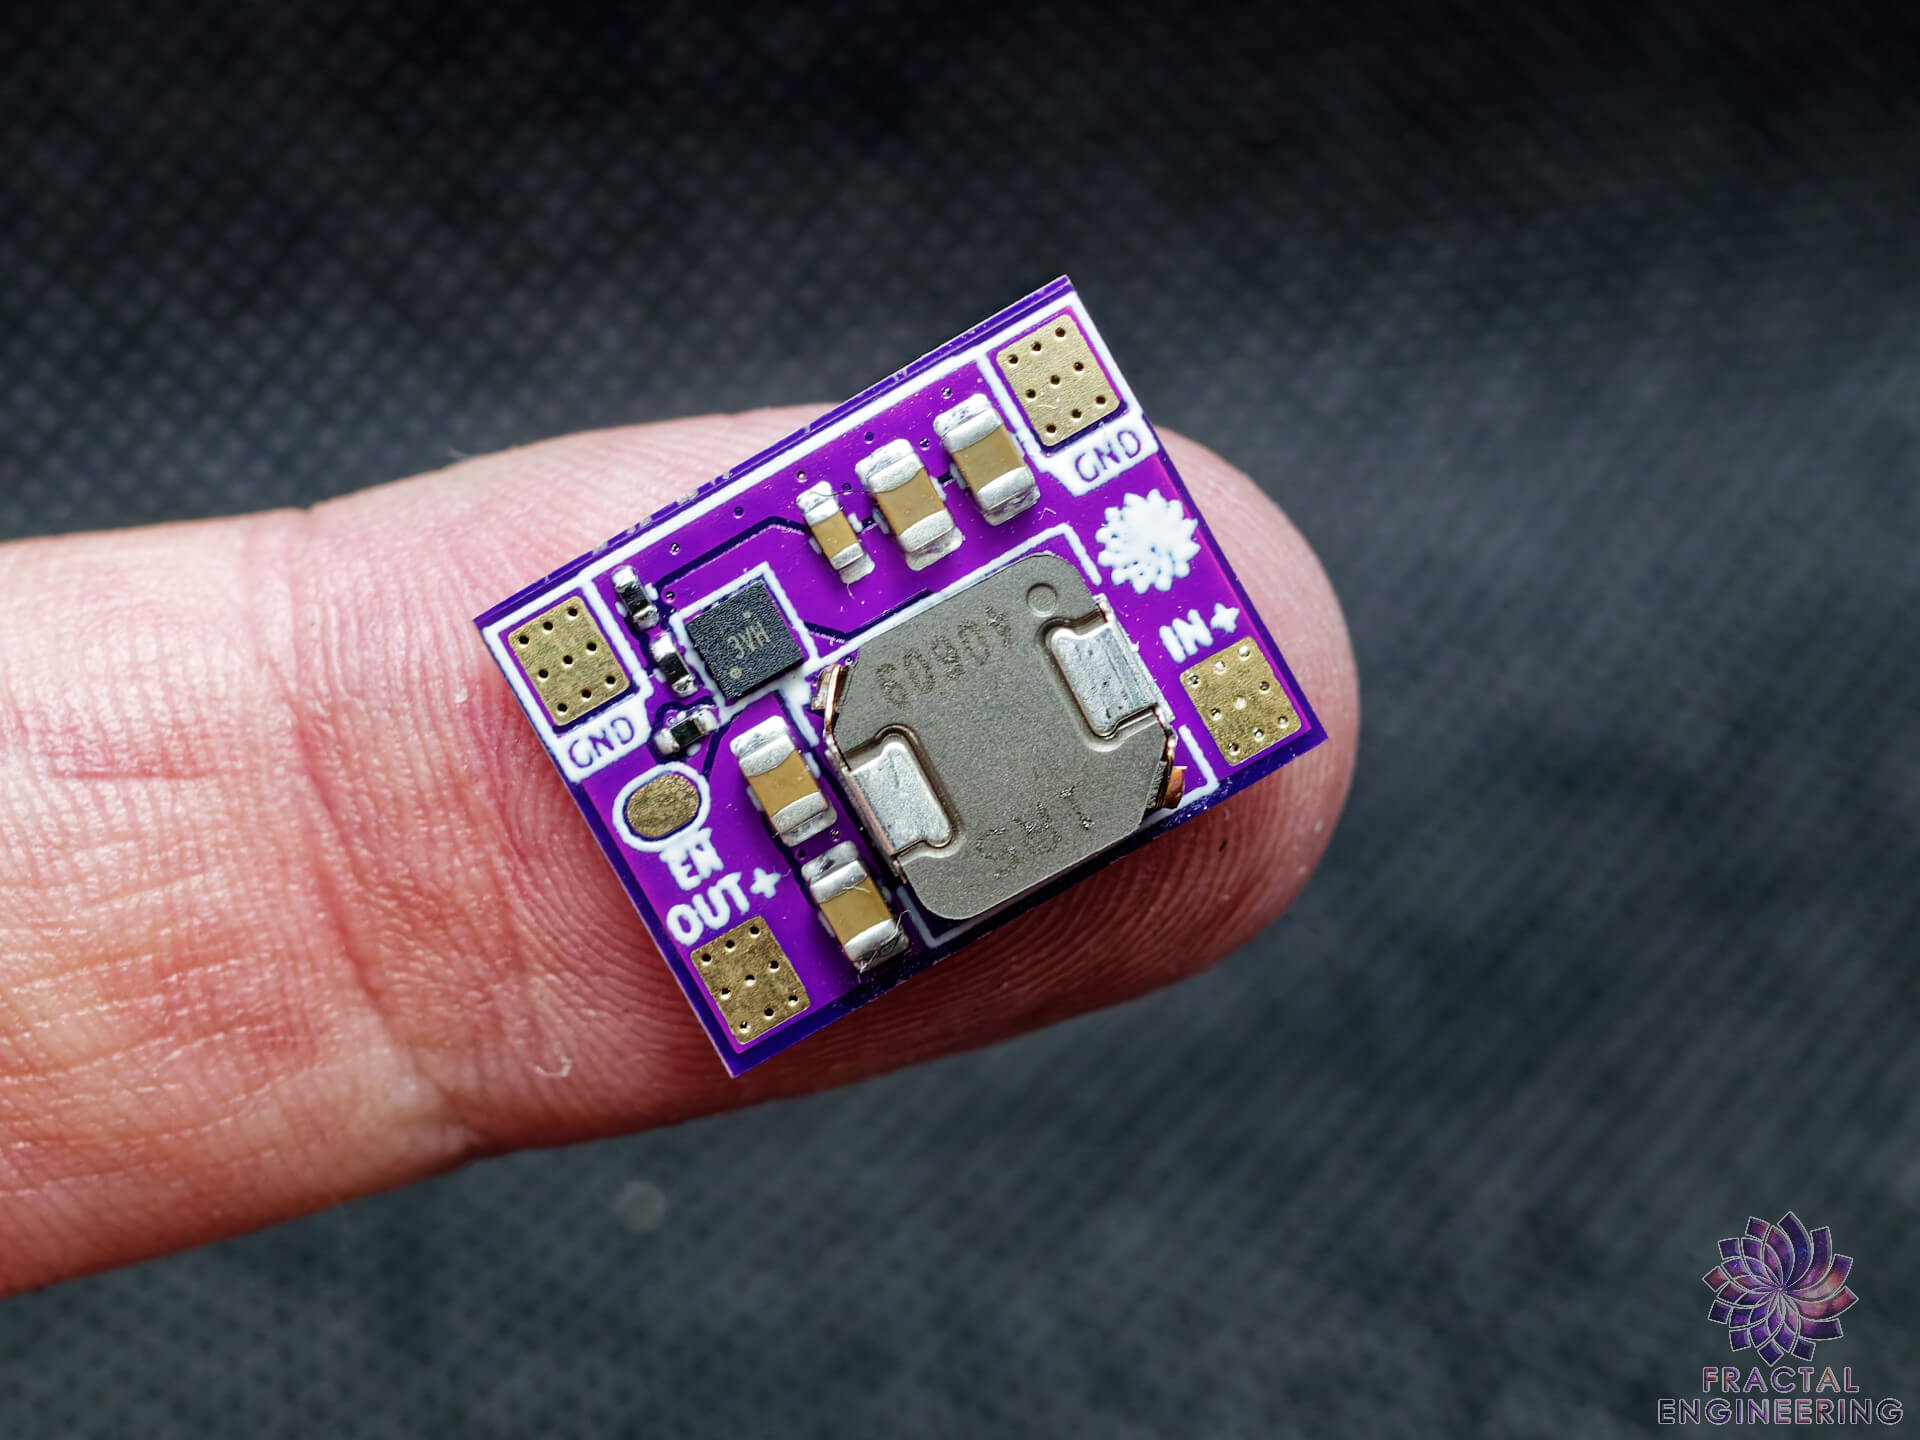
And out came this remarkably capable piece of gear that I can definitely trust to supply consistent, reliable power all the way through our 1S batteries.
Making it a viable option to add reliable video to any 1S digital or high power video build, from nano long range to tiny whoops.
Note that this is NOT a replacement for the Boostybaby; but rather a high power alternative for more demanding applications such as DJI O4 air units
It does however carry over the remote disable pad, allowing you to switch off the output from the FC when pulled to ground.
That will allow you to turn off the connected VTX remotely, from your radio, whether be it to save battery, cool it down or simply reboot it in the event it got wonky
To use it, I suggest remapping VTX power resource in Quicksilver to your Buzzer pad, and wire it to the /EN pad.
Why would you need one:
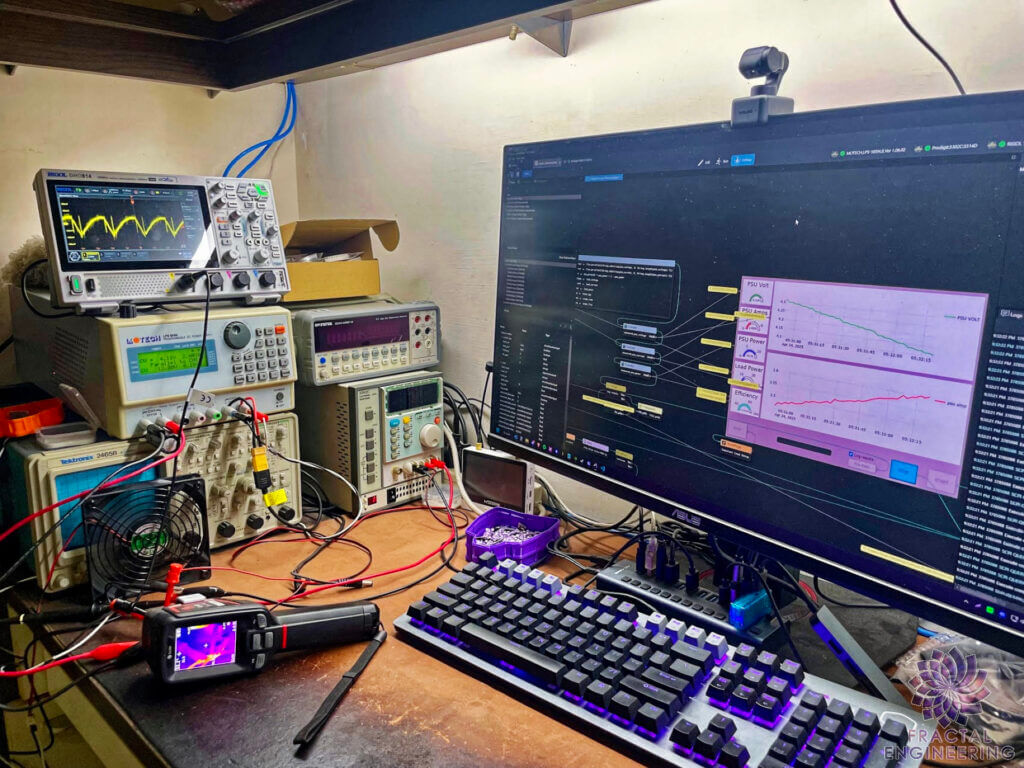
Excellent electrical characteristics; high efficiency, high power and low noise (Click here for full test data)
Note: My power supply tops out at 6A, couldn’t complete the higher power tests as it reaches OCP and the noise gets wonky near it.
Every single unit is thoroughly quality checked for power delivery and noise under high stress
This ensures you can rely on it in critical applications
And to add the cherry on top I’m publishing all the test results batch by batch here for full transparency and traceability
Remote disable pad to turn on/off your VTX from the FC to save power or reboot the VTX
Very handy when waiting for GPS Fix
It is in my experience a vital element in building a reliable 18650 1S build, whether be it with a digital or a high-power analog VTX
Entirely removing the video brownout bottleneck and enabling you to experience flights upwards of 20 minutes on a digital Wingman!
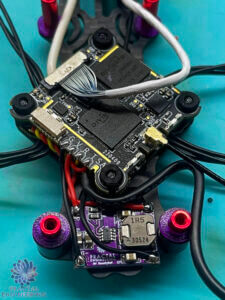
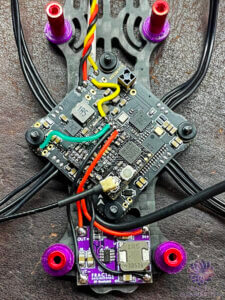
How to wire:

Note: Whenever possible I would suggest wiring the input to your FC VBAT net, often accessible by tapping on the current meter shunt resistor. This will account for the BB power consumption on your FC.
How to setup remote /enable:
- In CLI, type resource
- Find the pad you want to use (can be a uart, led, buzzer, pinio pad…)
- For instance if we want to use the buzzer then we can find it is assigned to resource C13 resource BEEPER 1 C13Keep note of that resource ID.
- Next we will free up that pad by assigning it to resource NONE resource BEEPER 1 NONE
- Next we can set the custom mode switch, using these commands:
set pinio_box = 40,41,42,43 aux 2 40 2 1600 2100 0
- Then we can finally assign our earlier resource ID to the custom mode switch, like so: resource PINIO 1 C13
- That’s it for the CLI part! don’t forget to enter SAVE in CLI and let your FC reboot
- Finally you can go to the Modes tab and assign an aux to the USER1 mode.
- And you’re all set! You should be able to flip the boostyboi on/off with the flick of your switch.
- From the configurator, save the target
- Choose an available pad you want to use on your FC and find it on the target file (buzzer recommended, but most would do)
- Note the pin used by that function and remap it to a new one called “fpv“
- Back in the configurator, upload your edited target and in the receiver tab, select the channel you want to assign to “AUX_FPV_SWITCH“
- And you’re done! test by flipping the channel to make sure it’s commutating the booster on/off and you’re good to go.

Features:
- Module Properties: non-isolated step-up module (BOOST)
- Input voltage: 1.8-5V
- Output voltage: 5V
- Output Current: Rated 3.1A
- Conversion efficiency: up to 96%
- Switching Frequency: 500KHz
- Output ripple: 60mV (p-p, input 3.6V, Output 5V 1A)
- Operating ambient temperature: -40 to +85C
- Quiescent Current: 120uA
- Load regulation: ± 0.5%
- Voltage regulation: ± 0.5%
- Output short protection
- Input/Output over-voltage protection
Content:
1x Voltage Booster Module


Reviews
There are no reviews yet.